To start, choose a square piece of paper and fold it diagonally both ways to create creases. Then, fold the corners to the center crease and flip the paper over. Fold the sides towards the center line and tuck in the edges to form a diamond shape. Next, bring down the top corner of one side to create a triangle at the bottom. Repeat on the other side by folding down the top layer.
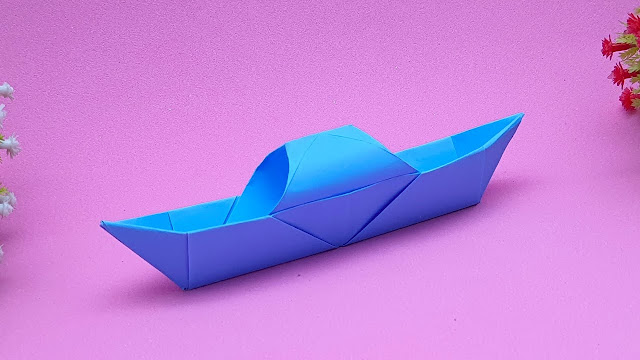
Once you have two triangles meeting at a point below, fold them outwards to create a square base with wings on either side. Gently blow into one end of your boat to inflate it slightly before placing it in water – watch as your origami boat floats effortlessly! Experiment with different sized papers or patterned designs for unique results each time you craft these charming boats. Enjoy setting them adrift in streams or pools, marveling at their simple beauty and peaceful movement on water surfaces.
Comments
Post a Comment