Making a paper bird may sound like a complicated task, but with the right techniques, it can be surprisingly easy and fun! To start off, select a square piece of paper in any color you prefer. Fold it in half diagonally to create a triangle and then unfold it. Now, fold the two outer corners towards the center crease, creating a smaller triangle shape. Flip over your paper and fold one corner up to meet the top point. Then do the same with the other side.
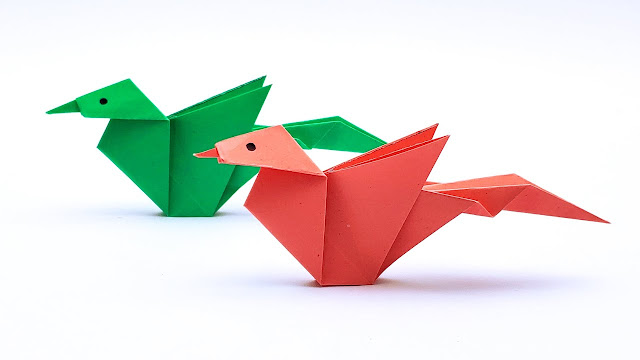
Next, bring down one of the top layers on both sides to create wings. Fold them back up slightly to add dimension. Now comes the intriguing part: shaping your bird's head! Fold down about an inch from the pointed tip of your model - this will form its beak. Lastly, gently curl up and outwards each wingtip for an impressive finishing touch!
Once you have mastered these simple steps, don't be afraid to experiment with different sizes or patterns of paper! You can even try using colored pencils or markers to add vibrant details and make your creation truly unique. Making a paper bird becomes not only an enjoyable craft activity but also an opportunity for self-expression – where your creativity can take flight!
Comments
Post a Comment