Origami airplanes are a classic childhood pastime that never seems to lose its charm. The art of folding paper into sleek flying machines is not only enjoyable but also offers a sense of accomplishment when you see your creation take flight. Making an origami airplane may seem daunting at first, but with a little practice and patience, you'll be able to create your own soaring masterpiece.
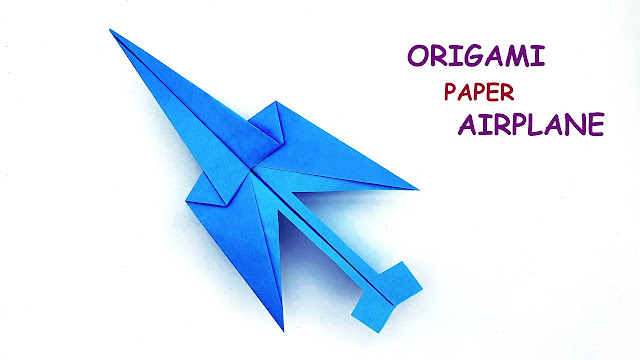
To begin crafting your origami airplane, select a square sheet of paper in the color or pattern of your choice. Start by folding the paper in half diagonally to form a triangle and then unfold it. Next, fold the top corners down towards the center crease so that they meet at the midpoint. Then, take the newly formed triangles on each side and fold them again towards the center crease. These folds will later become the wings of your airplane.
Once you have completed these initial steps, fold the entire model in half along the center crease so that all previously made folds are on the outside. Then, grab hold of one edge and bring it up toward the top point, forming another triangle shape which will be part of your plane's body. Repeat this step on both sides and tuck one end into a pocket created by previous folds; this will give stability to your aircraft's structure.
With just a few more careful adjustments and precise folds, you're almost finished! Gently press down on both wings to flatten them out slightly while curving up their tips for better aerodynamics.
Comments
Post a Comment