Origami is a delicate art form that requires patience and precision. If you're new to this craft, starting with simple designs can help build your skillset. In this easy origami paper diamond tutorial, we will guide you through each step to create a stunning diamond shape.
To begin, gather your materials: a square piece of paper and clear instructions. The great thing about origami is that it only requires basic supplies that are easily accessible. Plus, the satisfaction of transforming a flat sheet into intricate shapes is incomparable.
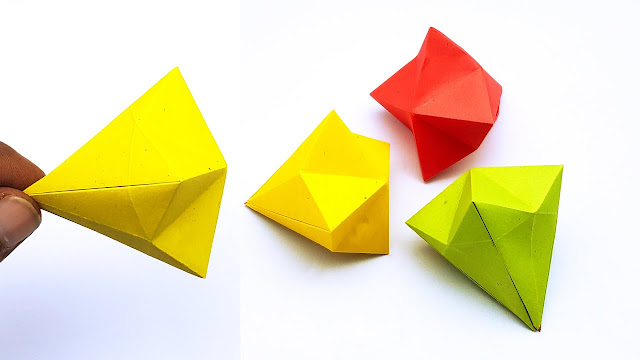
Firstly, fold the paper in half diagonally, creating a triangle shape. Then, fold both outer corners towards the center and unfold them. This will create creases for easier manipulation later on. Next, bring both upper edges towards the centerline and unfold again. Now comes the exciting part - hold the lower corner of the paper and push it upwards gently while bringing together the two sides to form a blunted diamond shape.
It's fascinating how such minimal folds can result in an impressive origami creation. From decorative pieces to personal gifts or even educational purposes for children learning geometry – these paper diamonds have countless uses! So go ahead and try out this beginner-friendly origami project; not only will it provide you with hours of enjoyment but also spark your creativity as you explore more complex designs in the future!
Comments
Post a Comment