Making a paper mini shirt is a fun craft activity that you can do with your kids or simply as a DIY project. It requires minimal materials and can be completed in just a few simple steps.
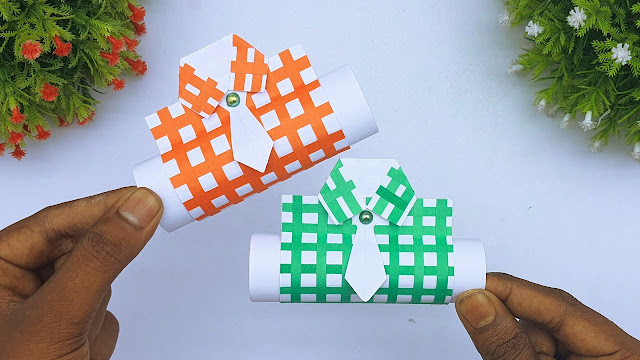
To begin, you will need some colored or patterned paper, scissors, glue, and a pencil. Draw the outline of the shirt onto the paper using the pencil. Cut out the shape carefully with your scissors.
Next, fold the bottom of the shirt up to create a hemline and glue it in place. Fold down both sides of the paper to create sleeves and glue them to hold their position. Finally, fold down the collar at the top of your mini shirt and secure it with glue.
You can add finishing touches such as buttons or embellishments to make your mini shirt look even more stylish! Making these little shirts is easy-peasy once you get into it – give it a try today!
Comments
Post a Comment